

How To Set Up Genie Garage Door Opener
When you purchase a Genie opener from Creative Door™, our knowledgeable technicians will assist fix everything for you, including the remote control, keypad, and wall console. However, if you ever demand to replace or reprogram your Genie opener or are doing a DIY installation, you'll require specific information.
The programming instructions we provide in this article are for the post-obit models of Genie garage door openers:
- PowerMax
- SilentMax
- ChainMax
- PowerLift
- TriloG
- IntelliG
- GPower
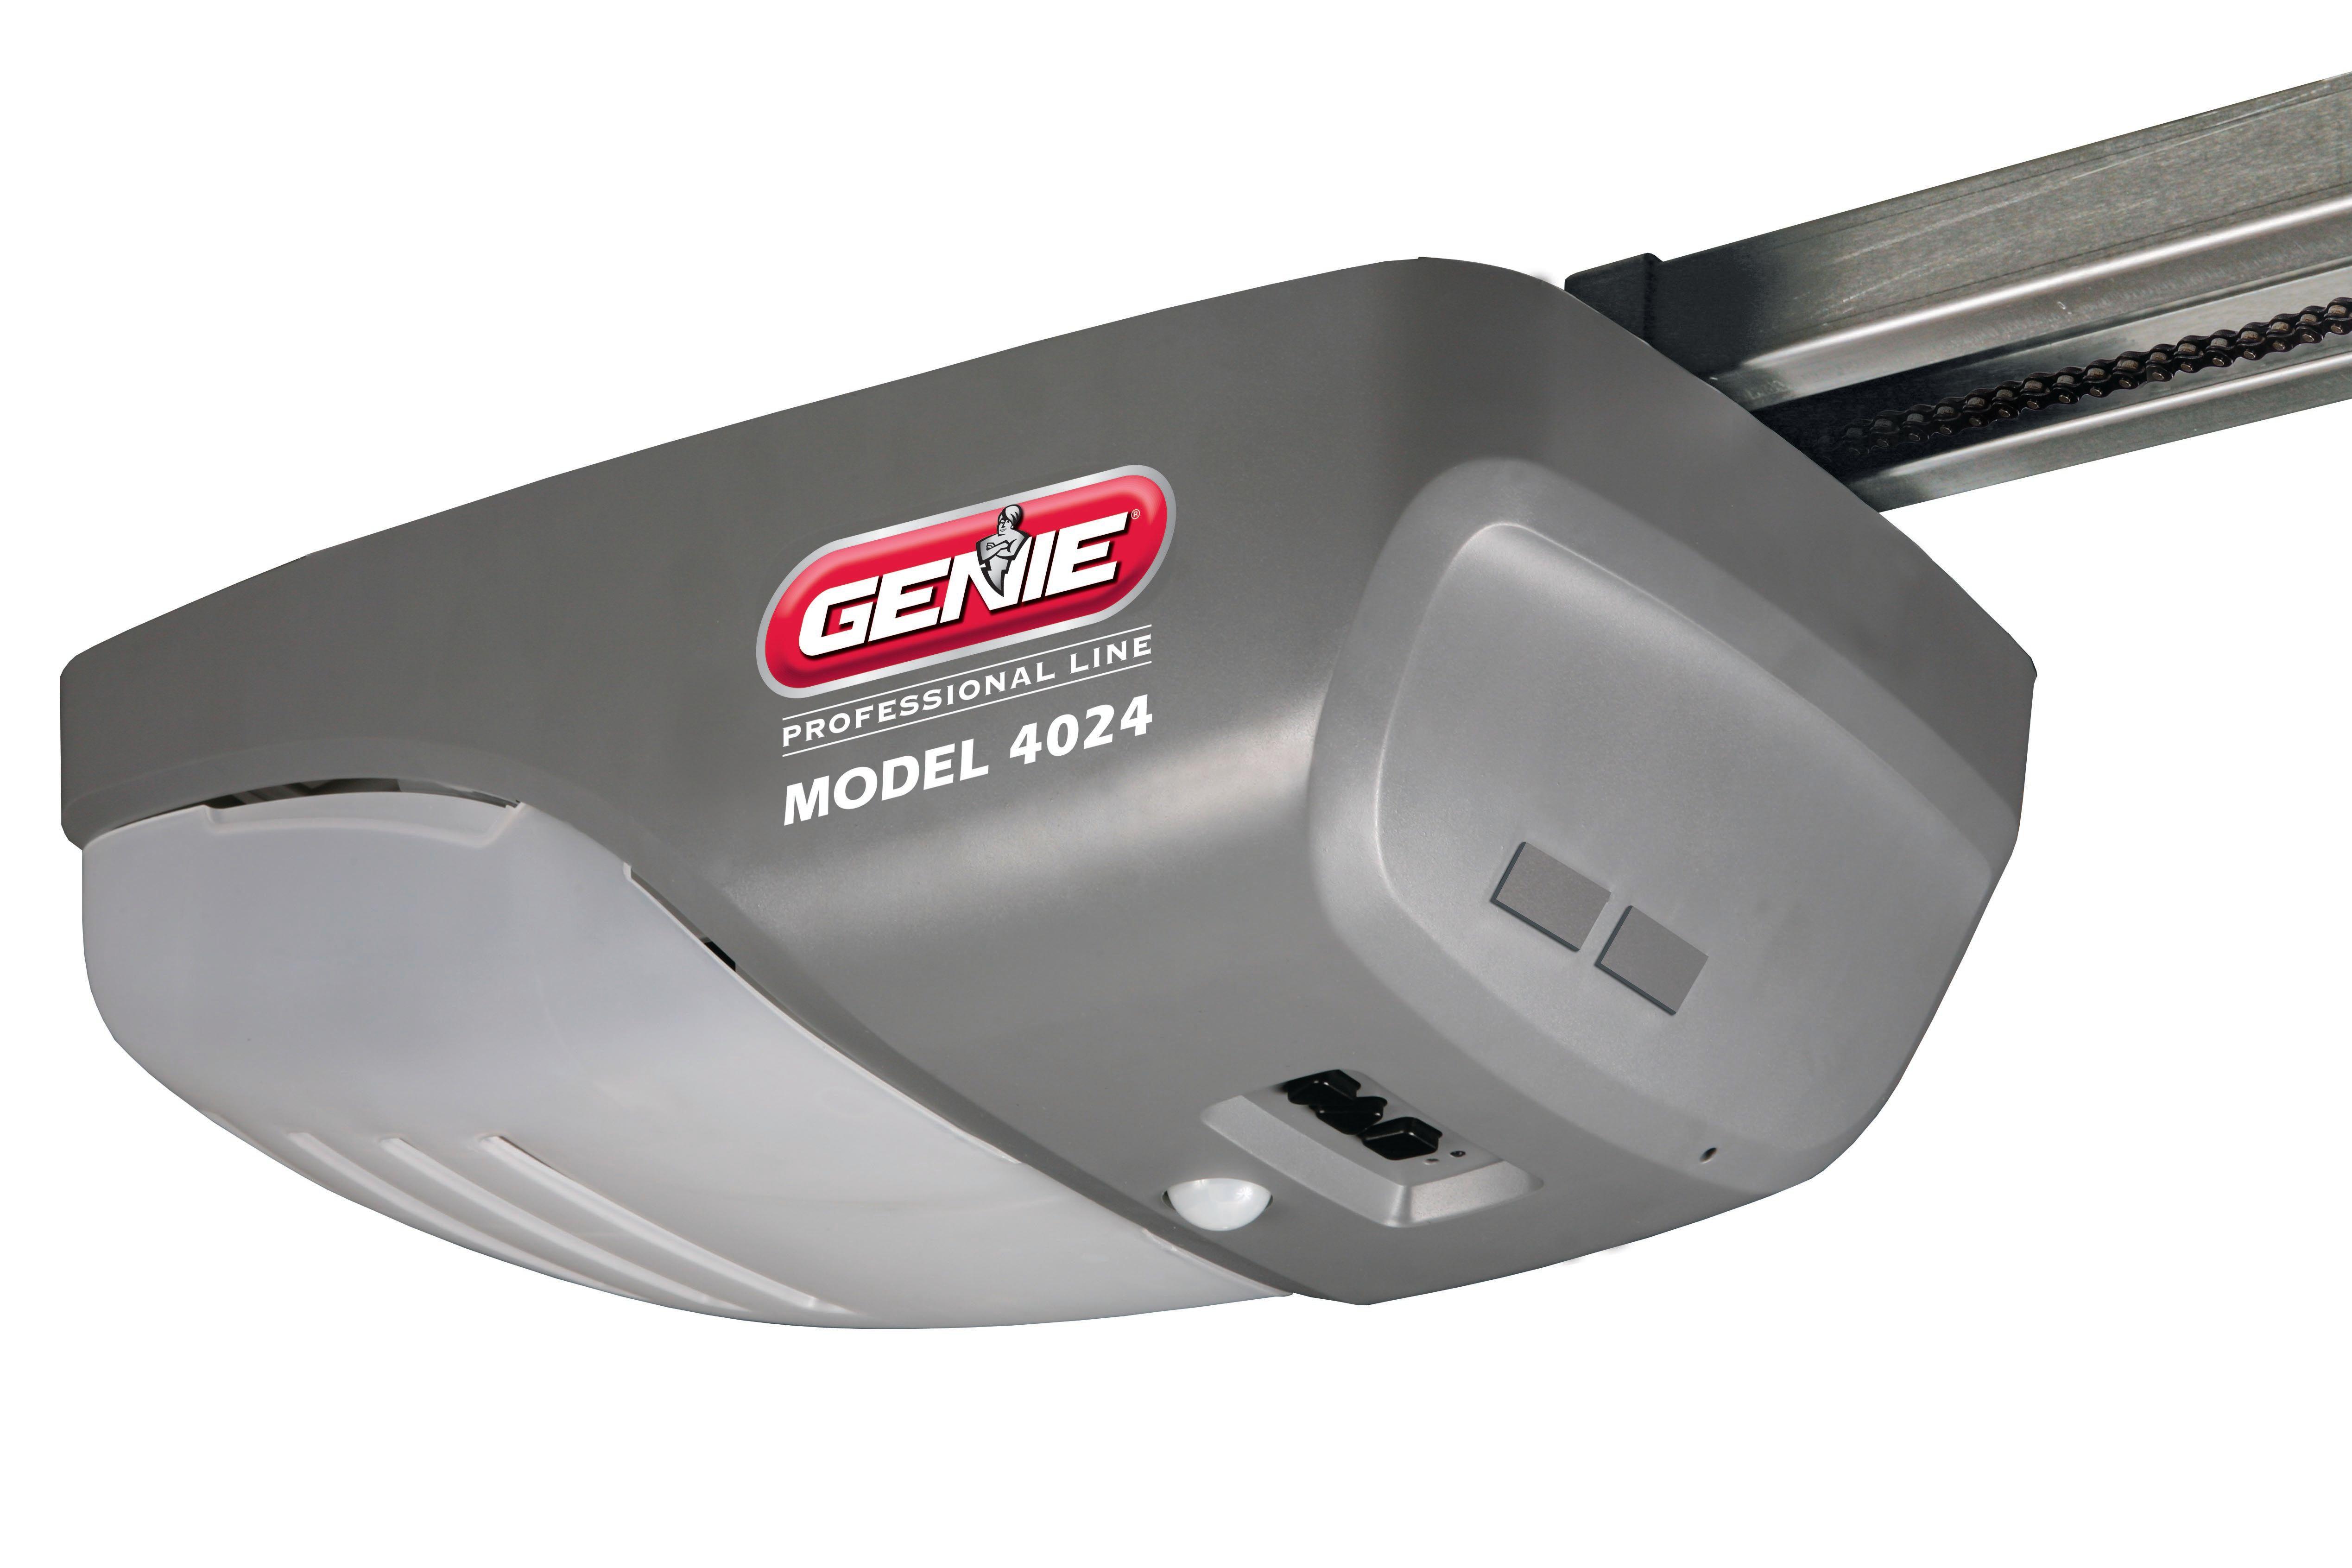
These units all have a big square programming (PRGM/Prepare) push on the bottom of the opener, abreast 2 up and down buttons. If you have a different type of Genie opener, follow the remote control and keypad programming instructions in your possessor's manual.
If your opener is one of the to a higher place-mentioned models, here's how to plan the remote control, keypad and wall console.

Programming a Genie Remote Control
To plan your Genie remote, you'll need to practise the following 2 things:
- Press and concur the square PRGM/SET button on your opener for two seconds. The pocket-sized, round LED light will turn blue, then the long LED low-cal will flash regal.
- Standing at least 5 feet from the opener, slowly press and release the remote push button you've chosen to use. Repeat this action: slowly printing and release the button. Both LED lights on the opener will wink then turn off, indicating that the remote has been successfully programmed.
Once y'all've done this, exam your remote. The garage door should now open and shut when you press the push.
Annotation that you accept 30 seconds to perform each step. If the LED lights on the opener wink red, it means that you've run out of time and will have to repeat the step.
In improver, note that whatever remote controls that come included with a Genie opener have already been programmed and are ready for use following the installation of the opener. The above instructions are for remote controls that have been purchased separately or that need to be re-programmed.

Programming a Genie keypad
These instructions are for linking a Genie keypad with a Genie opener for a unmarried garage door. If you're linking the keypad to more than than one garage door, the process volition exist different. Refer to the keypad owner's manual for instructions.
To program your Genie keypad, follow these 3 steps:
- Connect the keypad to the Genie opener:
- Enter, in gild, the numbers three-5-7, then press the large up/down button.
- Press and agree the PRGM/Fix button until the small, circular LED light starts flashing ruby.
- Gear up your pivot:
- Enter, in guild, three-5-7, then press the PRGM/SET button.
- Enter a pivot that is three to viii numbers in length.
- Printing the PRGM/Fix button.
- Pair the keypad and opener:
- Press and hold the PRGM/Set up button. The round LED light will plough blue and then turn off. The long LED calorie-free volition begin to flash purple.
- Enter your pivot, then press the up/downwards button. The long LED low-cal will turn majestic.
- Press the upward/downward push again. The purple LED light will plow off.
- Printing the upwards/downwards push for a third fourth dimension. The garage door will open.
The keypad is at present ready to apply. When you put in the code and printing the up/downward push button, the garage door will open up. Note that after you open or close the door with the keypad, you can cause the door to finish and reverse by pressing whatever button while the door's still in motion.

Programming a wall console
Programming a Genie wall console is very unproblematic. Just follow these two steps:
- Press and hold the PRGM/Set button. The round LED light will plough blue then plough off. The long LED low-cal will begin to wink purple.
- Press the door push button on the wall console in one case every 2 seconds until the garage door openers begins to operate.

Garage Door Opener Remote Troubleshooting Tips
About of the fourth dimension, when a remote command stops working, it's because the battery has died.
Depending on the model you lot accept, your Genie remote command may take a AAA battery, AA bombardment, or lithium coin battery. The three-button remote included with almost new Genie models take a 2032 lithium money battery. Here's how to replace it:
- Detach the remote by inserting a flat screwdriver into the slot at the stop of it then carefully prying open the housing.
- Remove the touch pad to access the circuit board.
- Flip the circuit lath to go access to the battery compartment.
- Using a screwdriver, carefully push button the bombardment out of the compartment.
- Replace with a new 2032 lithium coin battery.
- Reassemble the remote by replacing the circuit board and affect pad, then carefully snapping the housing back into place.
If the battery isn't the upshot, try reprogramming the remote, following the steps outlined above. You could also refer to the owner's manual for the remote control for more troubleshooting advice. If you lot can't resolve the problem yourself, call in a garage door technician to handle information technology.
A qualified garage door technician will be able to fix any issues that ascend with your keypad or wall panel.
Genie Garage Door Openers In Western Canada
Creative Door ServicesTM carries and installs top-quality Genie garage door openers in British Columbia, Alberta, Saskatchewan, and Manitoba. Trust our experienced squad with all your garage door operator installation, repair, and maintenance needs. Contact u.s. to larn more about our garage door products and services.
Source: https://www.creativedoor.com/blog/how-to-program-your-genie-garage-door-opener
0 Response to "How To Set Up Genie Garage Door Opener"
Post a Comment